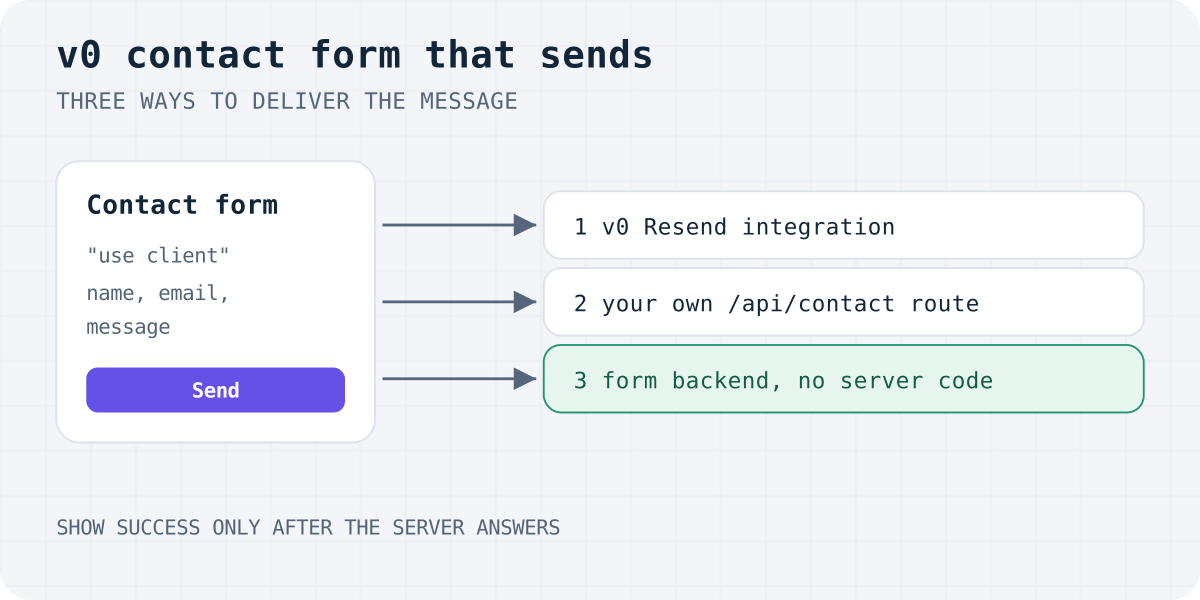
What v0 gives you, and what it does not
Ask v0 for a contact section and you get a polished Next.js component: fields, validation, a button and usually a success message. Whether the message goes anywhere depends on what the component does on submit. If it only sets a “sent” state, nothing is delivered.
This is not a hypothetical. When we tested contact forms on 105 Lovable and Bolt sites, 27 showed a success message and sent nothing. We did not include v0 in that test, so treat it as a reason to check, not as a number about v0.
Three ways to make it send
| Resend integration | Your own API route | Form backend | |
|---|---|---|---|
| Server code in your project | Yes (v0 writes it) | Yes | No |
| Email provider account | Created by the integration | Yours | Not needed |
| Domain | Required and verified | Verified sending domain | Not needed |
| Where the key lives | Vercel environment variables | Vercel environment variables | Public form key in the component |
| Saved copy of each message | Only if you add a database | Only if you add a database | Inbox and CSV |
| Spam protection | You add it | You add it | Honeypot built in, Turnstile optional |
Pick the first two if you want the email pipeline inside your own project. Pick the third if you want the form to work today and never touch a server.
Option 1: v0's Resend integration
Since 9 September 2026, v0 can connect Resend in one click from the chat, and it sets the environment variables for you. Resend's own guide describes what it does: it creates a Resend account, adds the API key to the project's environment variables and configures DNS, and you finish by verifying your domain in the Resend dashboard.
- Ask v0: “Send the contact form to my email with Resend.”
- Accept the Resend integration when v0 offers it.
- Verify your domain in the Resend dashboard and set the
fromaddress on that domain. - Publish, then run the test below on the published site.
Option 2: your own route handler
If you already use an email provider, a route handler keeps the key on the server. Add the key in the project's environment variables. v0's preview can only read variables available to the Development environment, so set the key for Development, Preview and Production, or the form will work in one place and fail silently in another.
The form then posts to /api/contact and shows success only when the route answers { success: true }.
// app/api/contact/route.ts — runs on the server, so the key stays secret.
import { Resend } from "resend";

const resend = new Resend(process.env.RESEND_API_KEY);

export async function POST(request: Request) {
  const form = await request.formData();
  const name = String(form.get("name") ?? "").slice(0, 200);
  const email = String(form.get("email") ?? "").slice(0, 200);
  const message = String(form.get("message") ?? "").slice(0, 5000);
  if (!email.includes("@") || !message) {
    return Response.json({ success: false, message: "Email and message are required." }, { status: 400 });
  }
  const { error } = await resend.emails.send({
    from: "Website <contact@your-verified-domain.com>",
    to: ["you@your-verified-domain.com"],
    replyTo: email,
    subject: `New message from ${name || email}`,
    text: message,
  });
  if (error) return Response.json({ success: false, message: "Could not send." }, { status: 502 });
  return Response.json({ success: true });
}
Option 3: a form backend, no server code
The component posts straight to a hosted endpoint, which stores the message and notifies you. There is no route, no secret and no domain to verify. With Formgong the free plan covers 300 submissions a month, sends Telegram alerts at once and keeps data in the EU; Formspree and Web3Forms work the same way.
Paste this prompt into v0. It asks for a client component that posts with fetch and shows success only after Formgong confirms:
Add a contact section with a form. Build it as a React client component ("use client") that posts with fetch.
Submissions go to Formgong, a hosted form backend. Do not use Server Actions, route handlers (app/api) or Resend.
- POST the fields name, email, message to https://formgong.com/submit with FormData and the header Accept: application/json.
- Append access_key = "fk_your_access_key" (public, belongs in frontend code).
- Add a hidden honeypot input named "botcheck".
- Show success only if the JSON response has success === true; otherwise keep the input and show the returned message.
Or drop in the component yourself
The same form as code. Replace the access key with your own from the v0 setup page, keep the hidden botcheck field, and do not set Content-Type yourself when you send FormData.
"use client";
import { useState } from "react";

// Your public access key from https://formgong.com/new (safe in frontend code).
const ACCESS_KEY = "fk_your_access_key";

export function ContactForm() {
  const [status, setStatus] = useState<"idle" | "sending" | "sent" | "error">("idle");
  const [error, setError] = useState("");

  async function onSubmit(event: React.FormEvent<HTMLFormElement>) {
    event.preventDefault();
    const form = event.currentTarget; // React clears currentTarget after await
    setStatus("sending");
    const body = new FormData(form);
    body.append("access_key", ACCESS_KEY);
    try {
      const res = await fetch("https://formgong.com/submit", {
        method: "POST",
        headers: { Accept: "application/json" },
        body,
      });
      const data = await res.json();
      if (!data.success) throw new Error(data.message || data.code);
      form.reset();
      setStatus("sent");
    } catch (e) {
      setError(e instanceof Error ? e.message : "Could not send");
      setStatus("error");
    }
  }

  return (
    <form onSubmit={onSubmit}>
      <input name="name" required placeholder="Name" />
      <input name="email" type="email" required placeholder="Email" />
      <textarea name="message" required placeholder="Message" />
      {/* Honeypot: hidden from people, bots fill it in */}
      <input name="botcheck" tabIndex={-1} autoComplete="off" aria-hidden="true"
        style={{ position: "absolute", left: "-9999px" }} />
      <button disabled={status === "sending"}>
        {status === "sending" ? "Sending…" : "Send message"}
      </button>
      <p aria-live="polite">
        {status === "sent" && "Thanks, your message was sent."}
        {status === "error" && error}
      </p>
    </form>
  );
}
Test the form before you publish
A success message proves nothing on its own. A request proves the form tried, and only your inbox proves delivery. Run the steps below on the published site, because the preview and production can use different environment variables.
Frequently asked questions
Can v0 send emails from a contact form?
Yes, if the form posts somewhere that sends the email: v0's Resend integration, your own route handler with an email provider, or a hosted form backend. The form component alone does not deliver anything.
Why does my v0 form say “sent” but no email arrives?
Either the submit handler only sets a success state without sending a request, or the request fails on the server, for example because the email key is missing in the environment where the site runs or the sending domain is not verified. Check the Network tab first.
Do I need a domain to send email from v0?
For Resend, yes: Resend's v0 guide requires a verified domain. A hosted form backend does not need one, because it sends the notification from its own domain.
Is it safe to put a form backend key in a client component?
Yes for a public submission key such as Formgong's access key: it can only submit to your form, not read submissions. Never put an email provider API key in client code.
Sources and documentation
Official references for this guide: Vercel changelog: v0 adds one-click integrations (9 Sep 2026), Resend: v0 integration, v0 docs: External APIs and environment variables, Next.js: Route Handlers. Formgong for v0, where data is stored.
Read this article as Markdown